-
-
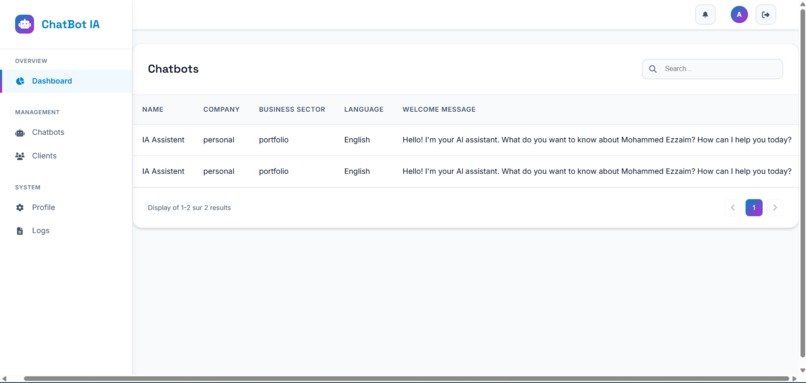
This image represents all the chatbots generated.
-
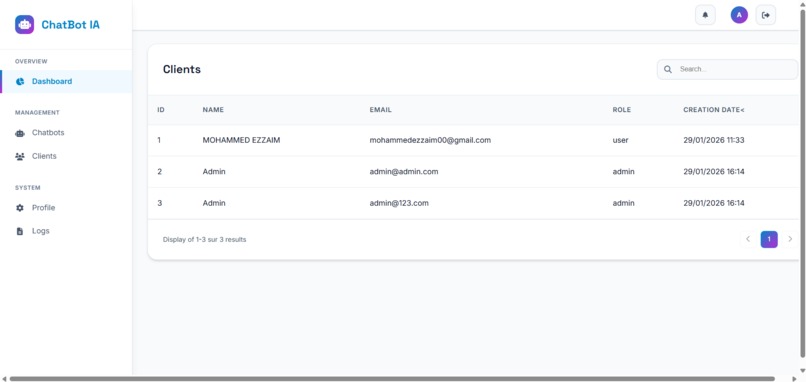
This image represents all the users subscribed to our system.
-
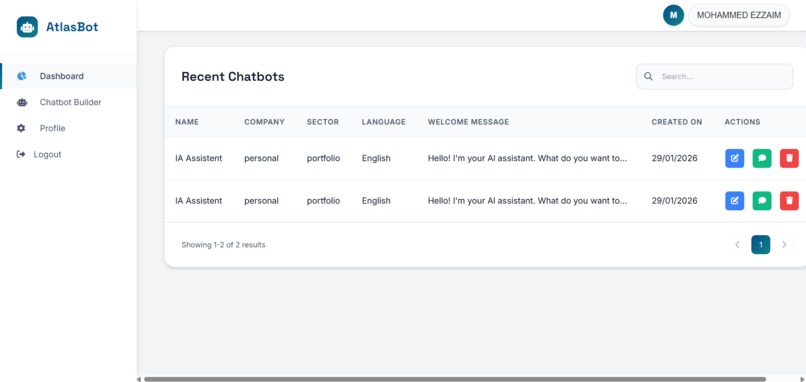
List of chatbots you can use to test the chatbot here.
-
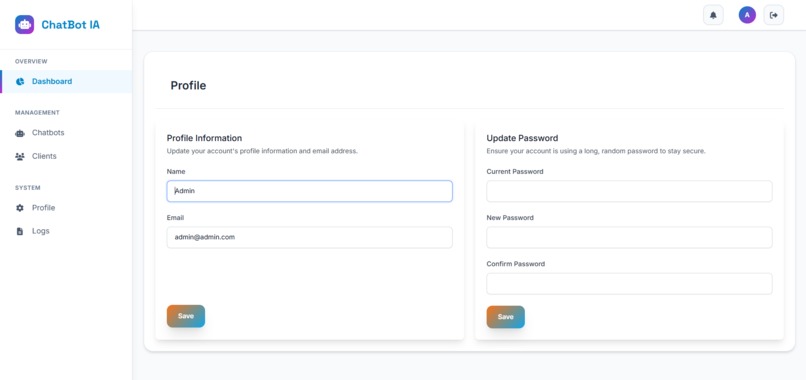
This image represents the updated profile style.
-
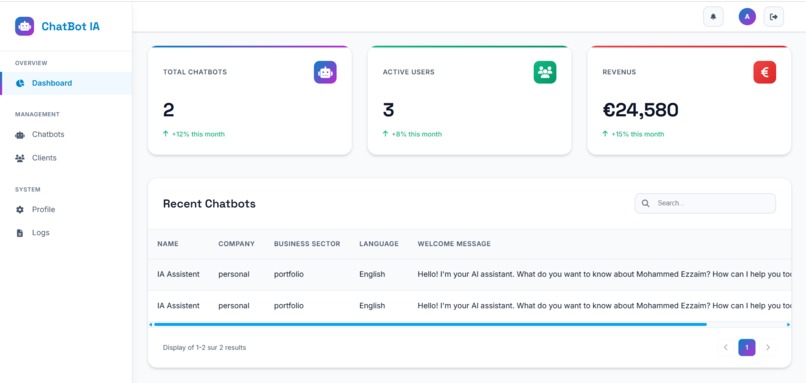
The Admin Dashboard contains the number of users, number of chatbots, and cost.
-
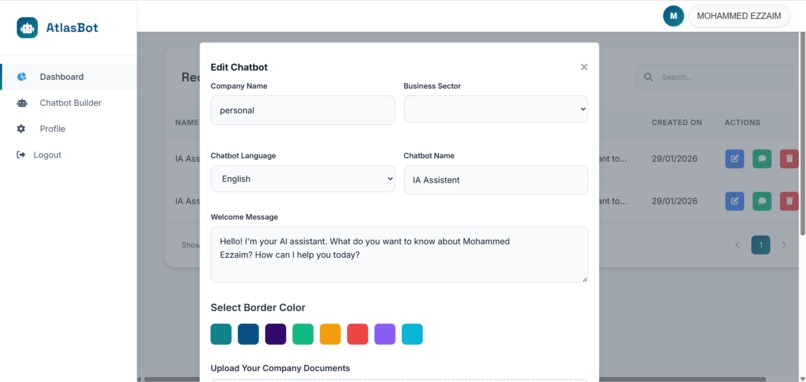
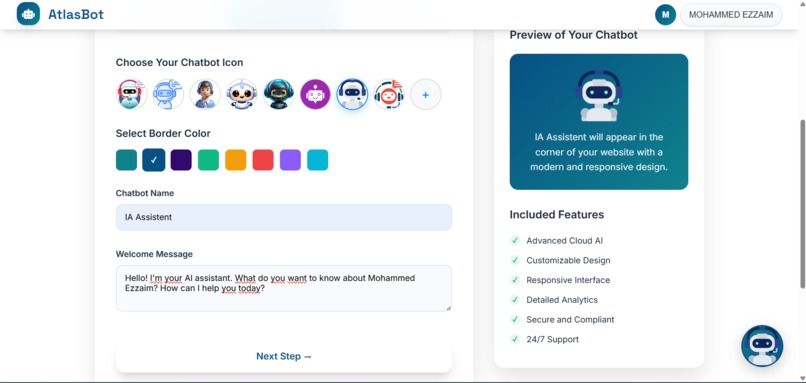
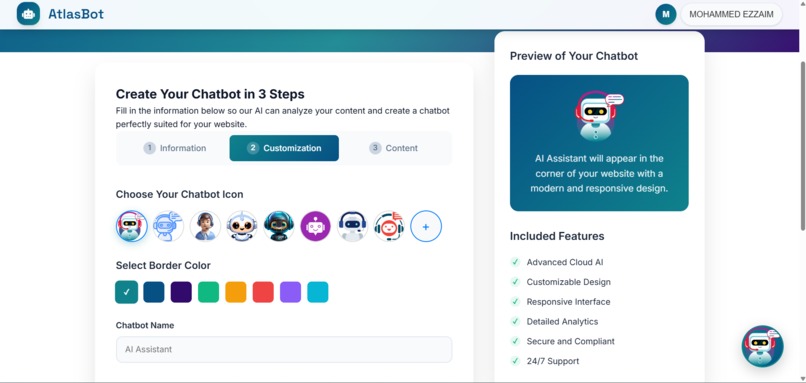
This image shows that we can update the chatbot color, update the website, and the media.
-
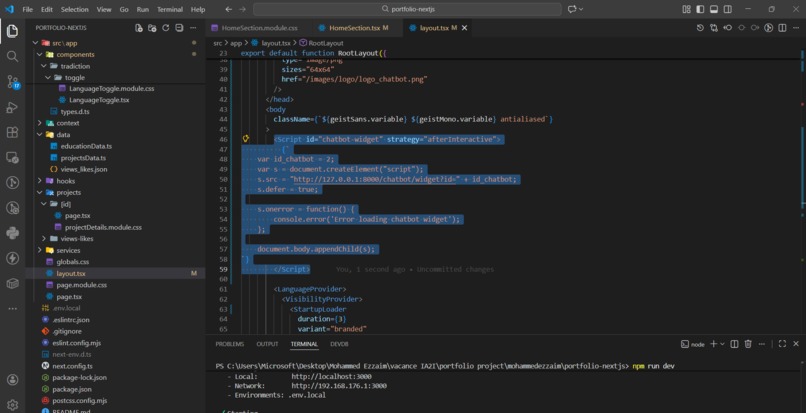
Adding The sciprt in my code
-
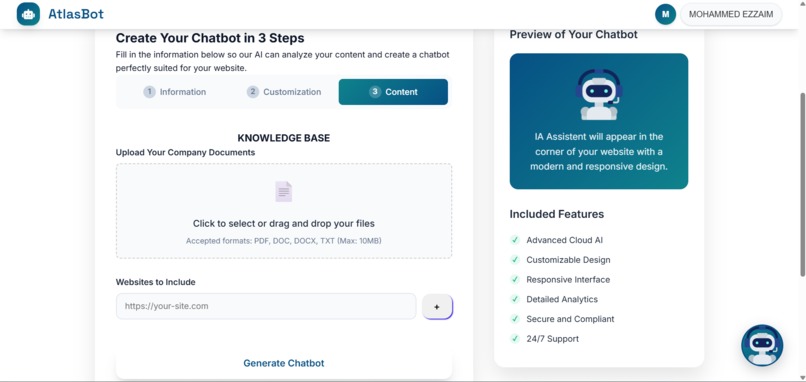
This image shows how to add the website link where the assistant is generated, along with the media for additional information.
-
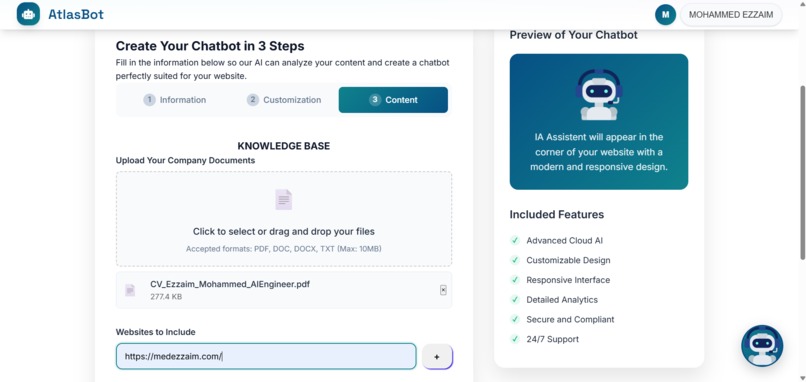
This step 3 includes adding the website link
-
This image shows how to regenerate the assistant in 3 steps.
-
This image shows how to regenerate the assistant in 3 steps.
-
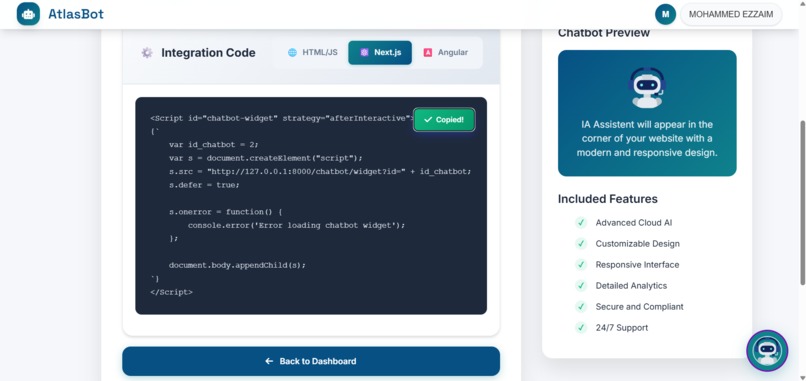
This mage represebt copie te script for the nextjs option
-
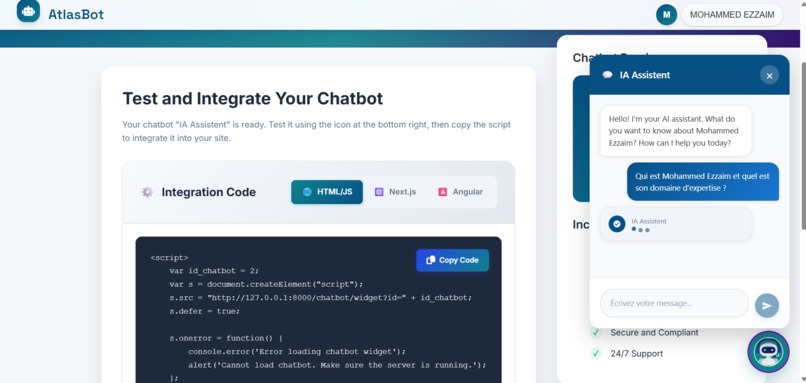
This is a tester for my chatbot before integrating it into my website.
-
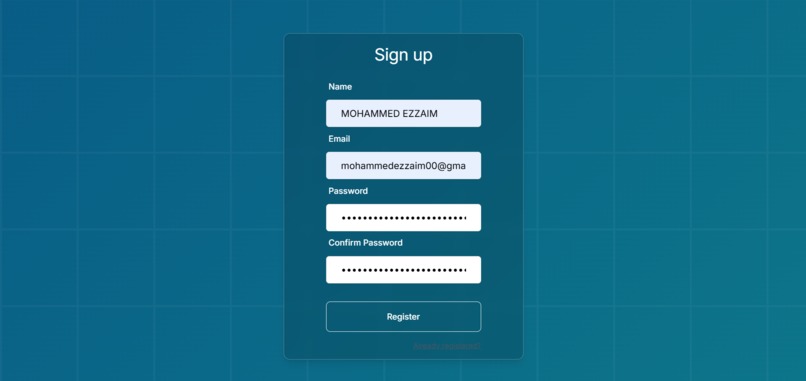
This image represents the Register page.
-
This shows the response from the chatbot when tested."
-
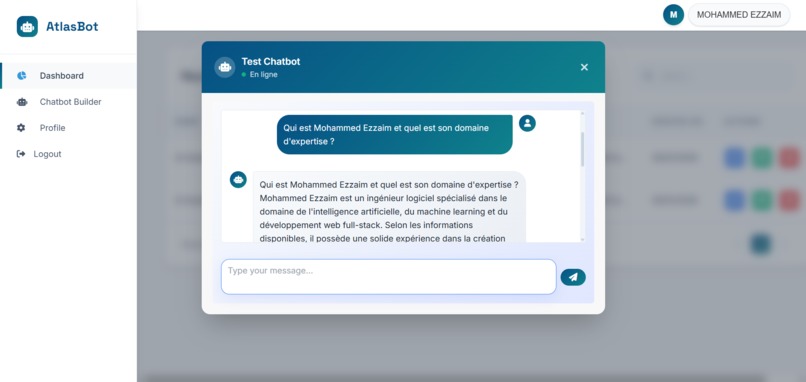
The chatbot response in the Test Dashboard.
-
This image shows how to regenerate the assistant in 3 steps.
-
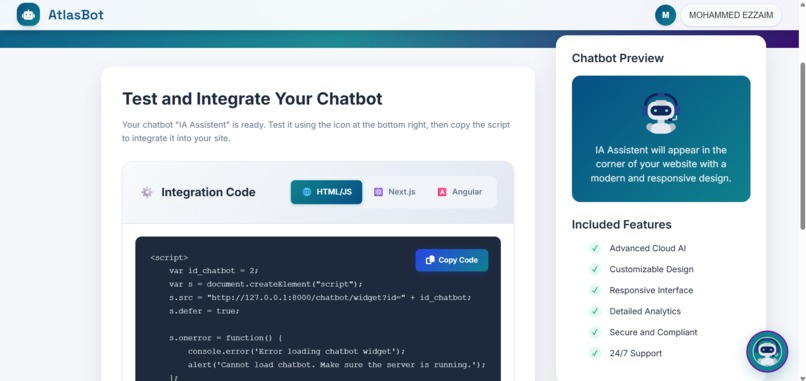
The script we generated provides 3 options: HTML, Next.js, and Angular.
-
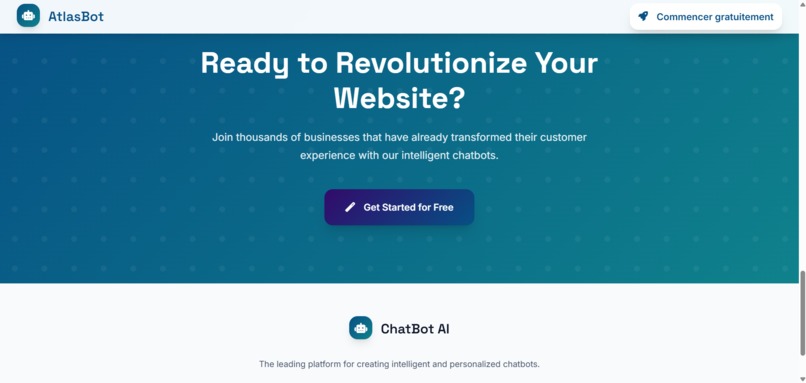
This image represents the Home page with the Get Started button.
-
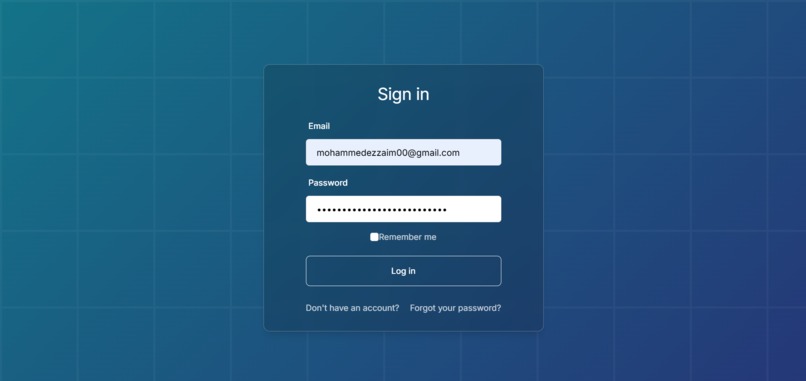
This image represents the Login page.
-
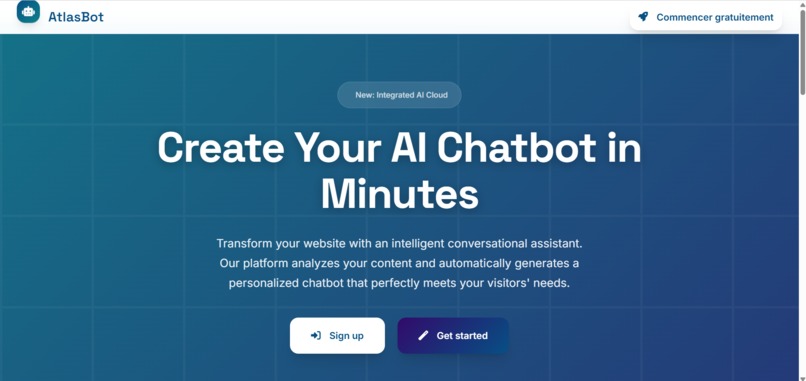
This image represents the Home page.
-
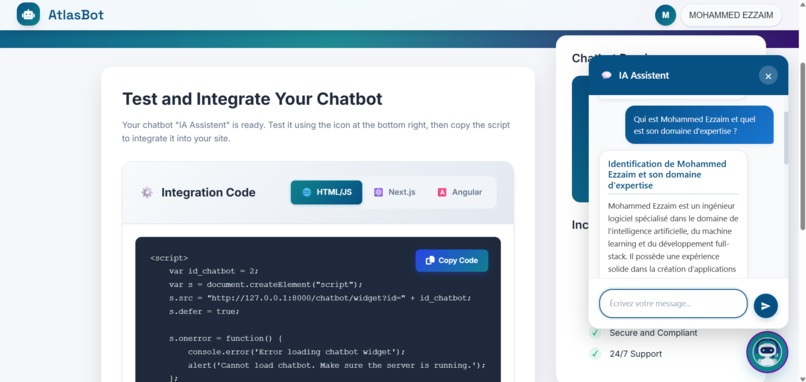
This image represents a test of the chatbot's questions.
-
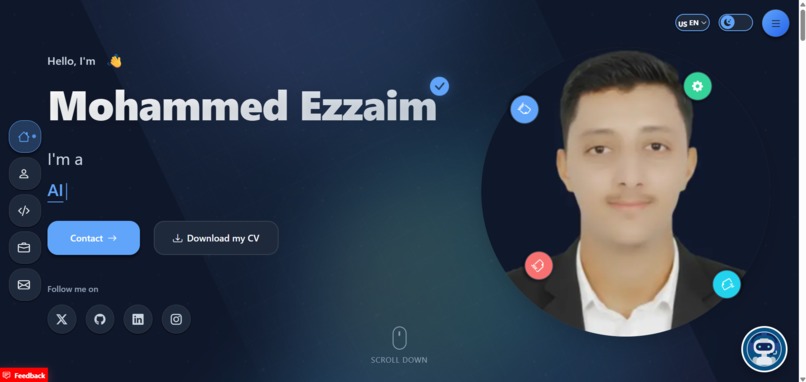
This image shows the script successfully added to my portfolio
-

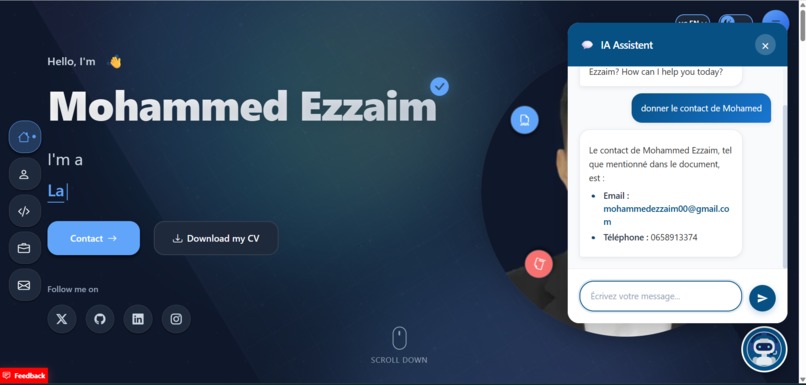
This represents the website. This represents my portfolio.


Inspiration
AtlasBot was inspired by the need for businesses and football communities to have intelligent, automated assistants that are easy to integrate into websites and media. I wanted to create a platform that combines state-of-the-art AI models with practical usability, enabling anyone to deploy a smart assistant in minutes.
What it does
AtlasBot generates intelligent assistants using RAG and Gemini LLM. Users can embed it on their websites or media via a generated script, and the chatbot works instantly. It allows for personalized, context-aware interactions with customers or community members.
How we built it
Backend: Python (FastAPI / Flask) Frontend: Laravel Blade, Tailwind CSS, JavaScript Cloud & Deployment: AWS EC2, S3, Docker AI & Data: Gemini LLM, RAG, FAISS, AWS Bedrock, scraping and chunking embeddings Integration: Script generation for easy website embedding Tools: Selenium, BeautifulSoup
Challenges we ran into
Integrating RAG pipelines with multiple data sources efficiently Ensuring real-time, relevant chatbot responses Making the platform easy to use so that non-technical users can embed the assistant quickly
Accomplishments that we're proud of
Building a fully functional SaaS platform for intelligent assistants Enabling easy website integration via a generated script Leveraging Gemini LLM with RAG pipelines for advanced semantic search
What we learned
How to implement RAG pipelines and vectorization using FAISS and AWS Bedrock How to handle multi-source data extraction (scraping, documents, media) Best practices for deploying AI SaaS platforms in the cloud
What's next for AtlasBot
Expand the platform to support more integrations (social media, messaging apps) Add analytics dashboards to track user interactions with the chatbot Enhance the system with more AI models and improved personalization
Built With
- amazon-web-services
- aws-bedrock
- aws-ec2
- beautiful-soup
- chunking
- docker
- faiss
- fastapi
- flask
- gemini-llm
- javascript
- laravel
- laravel-blade
- php
- python
- rag
- scraping
- selenium
- tailwind-css

Log in or sign up for Devpost to join the conversation.