-
Control Cube
-
-


Inspiration
I needed more keys to design and program faster, but I had no space. Studies show that you can fit in 400% more keys if you put them on a cube instead of a standard board (don't quote me on this), so I decided to make a programmable macro "cube"!
What it does
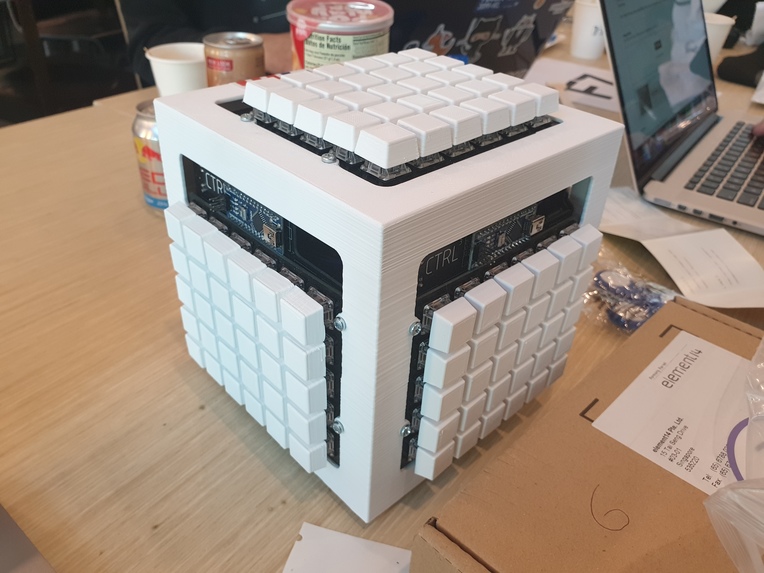
It's 150 reprogrammable keyboard keys in a (cough, definitely objectively) attractive package. If you ever needed keys to design, or program, remind yourself of your parents' disappointment in you, edit text, this project is for you!
Each key can perform a macro in the form of a string of USB reports (so....basically it can press any number of keys in any order), so you can set shortcuts to save files, run code, insert code templates.
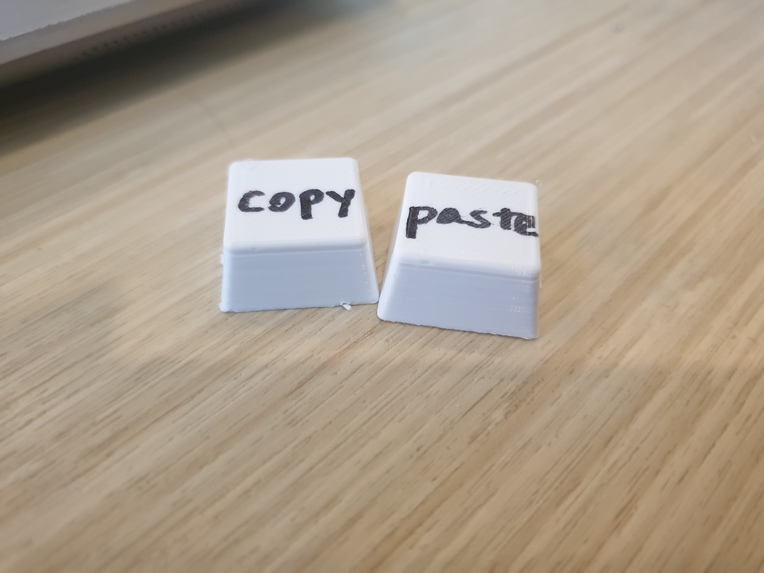
The keycaps are blank, so you can write anything on them to keep track of your macros (or just 3D print keycaps with icons already on them!)
How I built it
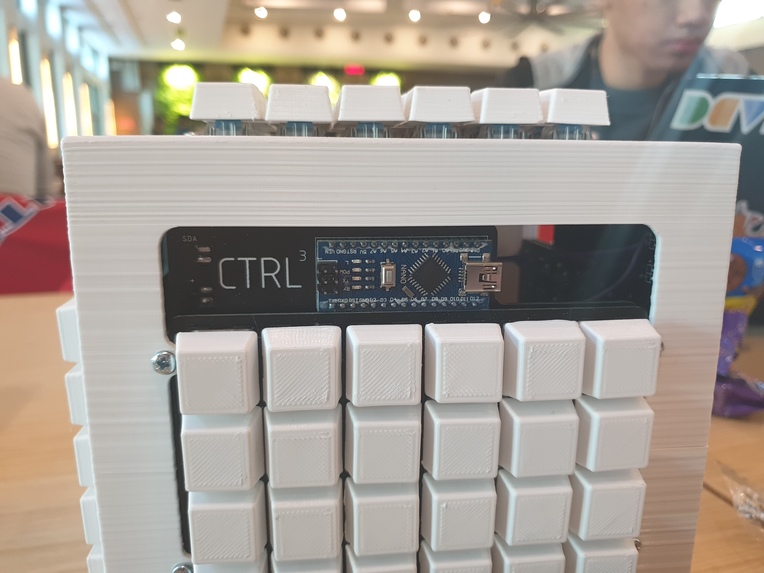
I designed the circuit boards and switch plate for the keyboards in Autodesk AutoCAD and EAGLE, ordering 5 sets for production from JLCPCB (cheapest place to get PCBs from).
The case that holds the circuit boards together was 3D-printed, and so are the keycaps which go on top of the switches. Each circuit board has an Arduino Nano, which is wired via I2C to a Teensy 3.5 (which emulates the keyboard input).
Of course, I had to solder the circuit boards and 3D print parts beforehand, but I started programming only when H&R started. By the end, I had the cube fully working!
Challenges I ran into
Originally, I was going to design each of the keycaps with their own unique design (for a unique function) and print them out. However, due to time constraints I ended up having to print blanks instead.
Another (perhaps more troublesome) challenge, was that my keycaps had many bumps on them as a result of the 3D printing process, causing them to jam, or not fit onto the switches at all. So, I had to file 150 keycaps to get them to fit (which was not fun at all). Printing each keycap also took 15 minutes, so printing 150 took quite a long time.
Minor bump: When I first started running the keyboard, it just did not send any keycodes to my computer (making it useless). However, I restarted the computer (no joke) and it started working again.
Accomplishments that I'm proud of
Well, this is perhaps my second personal hardware project, so I'm glad that it worked in the end. I'm a fan of designing stuff from scratch, so I was happy to design most of the cube myself. Being in a one person team means I have to do all the work, so I'm proud that I stuck it through.
What I learned
- Remember to create tolerances for 3D-printed parts
- How to design keyboard matrices
- Soldering for extended periods of time in a closed room is probably a bad idea
What's next for Control Cube
- More control input methods (trackballs, rotary encoders, potentiometers!)
- RGB LED lighting (for the bling)
- Built-in Speaker (since the Teensy 3.5 has a DAC anyway)
Log in or sign up for Devpost to join the conversation.